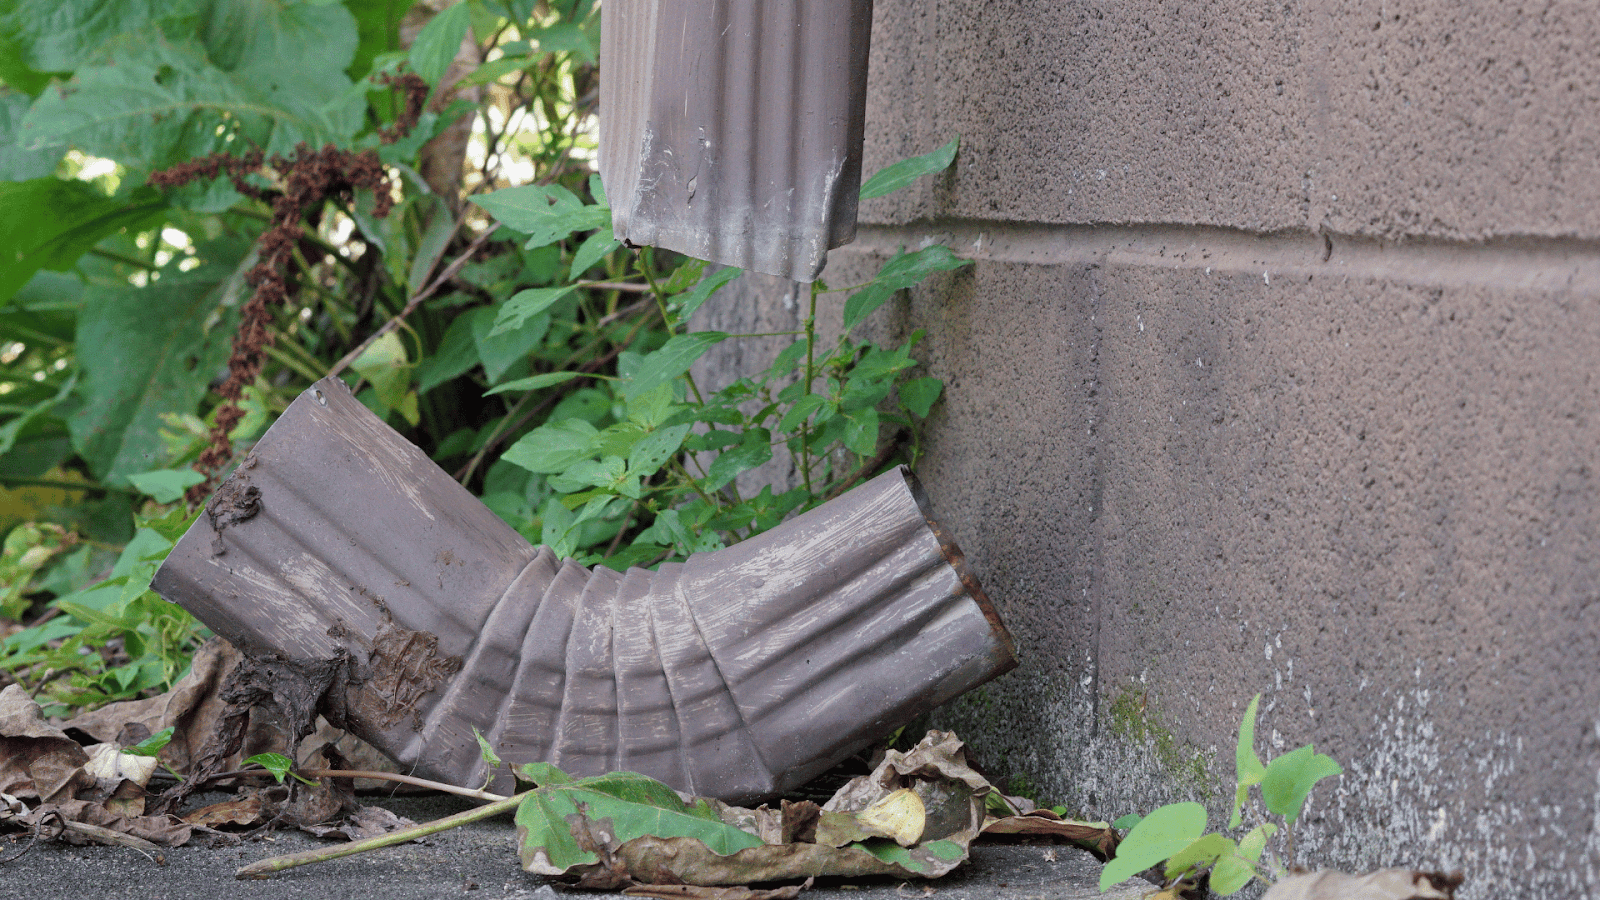
Downspouts play an essential role in protecting your home from water damage by directing water away from the roof, foundation, and landscaping. They are an integral part of the gutter system, and if not properly installed or maintained, they can cause water to pool around your foundation, leading to serious structural issues over time. For those who enjoy do-it-yourself (DIY) home projects, installing or replacing downspouts may seem like a manageable task. However, before diving into this project, there are several key factors to consider to ensure the job is done correctly. This article will guide you through the essential steps and provide useful tips for a successful DIY downspout installation.
Understanding the Role of Downspouts
Before you begin any work on your gutter system, it’s crucial to understand the function of downspouts. Downspouts are vertical pipes attached to gutters, designed to channel rainwater from the roof and direct it away from the foundation of your home. Without proper downspouts, water would pour directly off your roof, eroding soil, damaging landscaping, and potentially seeping into your foundation, which can lead to costly repairs.
The effectiveness of a downspout depends on its placement, the size of the gutter system, and how well it is maintained. For DIYers, one of the most important tasks is ensuring the downspouts are positioned correctly and are connected to a functional drainage system, such as downspout extensions or splash blocks.
Gathering the Right Tools and Materials
To begin your DIY downspout installation, make sure you have the proper tools and materials ready. You’ll need:
- Downspout pipes
- Elbows (to guide the flow of water around corners)
- Downspout straps or brackets
- Screws or rivets
- A drill and screwdriver
- A measuring tape
- A hacksaw or tin snips (for cutting downspout materials)
- A ladder
Additionally, you’ll need to determine the correct type and size of downspouts for your gutter system. Downspouts are typically made from materials like aluminum, vinyl, or steel. Aluminum is often a popular choice due to its durability, rust-resistance, and ease of installation. Depending on the amount of rainfall in your area, you may also want to consider the width of the downspouts, as wider downspouts can handle a higher volume of water, which can be especially important during heavy rainstorms.
Measuring and Cutting the Downspouts
Once you have all the necessary materials, the next step is to measure and cut your downspouts to the correct length. Start by measuring the distance from the bottom of the gutter to the ground. If you are attaching a downspout extension, measure the length from the bottom of the gutter to where the extension will end. It’s always a good idea to cut your downspouts slightly longer than needed and trim them as you go.
Using a hacksaw or tin snips, carefully cut the downspout to the appropriate length. Be sure to wear protective gloves and eyewear to prevent injury from sharp edges. After cutting, check that the downspouts fit properly and make any adjustments as needed.
Securing the Downspouts
After cutting, you’ll need to secure the downspouts to the wall of your house. Attach the downspout to the gutter using the appropriate elbows and screws or rivets. Elbows are necessary to guide the flow of water, especially when the downspout needs to bend around corners or extend away from the house.
Once the downspouts are attached to the gutter, secure them to the exterior wall with downspout straps or brackets. These straps should be spaced evenly along the length of the downspout, typically every 5 to 10 feet, to ensure they remain securely in place. Use screws or rivets to fasten the straps to the wall.
Make sure the downspout is angled slightly away from the house so that water will flow naturally and easily. This angle will also help prevent water from pooling at the base of the downspout.
Adding Downspout Extensions or Splash Blocks
One of the most important steps in downspout installation is ensuring that the water is properly directed away from the foundation of your home. Downspout extensions are a simple yet effective way to achieve this. Extensions can be flexible or rigid and come in a variety of materials, such as aluminum or plastic. They attach to the bottom of the downspout and extend several feet away from the foundation, ensuring that water is directed away from your home.
Alternatively, you can use splash blocks, which are placed at the bottom of the downspout to disperse water and prevent soil erosion. Whichever option you choose, it’s essential to ensure that the water flows far enough away from the foundation to avoid potential damage.
Common Mistakes to Avoid
As with any DIY project, there are some common mistakes to watch out for during downspout installation:
- Incorrect Placement: Downspouts should be placed in areas where they can effectively drain water away from the house. Make sure they are not positioned too close to windows, doors, or walkways where the water could cause damage.
- Improper Slope: The downspout should have a slight slope to ensure that water flows smoothly. If the slope is too steep or not angled correctly, water may back up or pool at the base.
- Failure to Secure: Downspouts should be securely fastened to the wall with brackets or straps. Failure to properly secure them can result in sagging or detachment over time.
- Neglecting Maintenance: After installation, regular maintenance is crucial to ensure that downspouts remain free from debris and clogs. This includes periodically checking for leaks and ensuring that the water is flowing properly.
When to Seek Professional Help
While DIY downspout installation can be a rewarding project, it’s not for everyone. If you’re unsure about your ability to complete the installation correctly, or if your home has unique drainage challenges, it might be best to consult a professional. Professional downspout replacement services or gutter companies can ensure that your gutters and downspouts are installed correctly, reducing the risk of future water damage and protecting your home’s foundation in the long term.
In conclusion, downspout installation can be a manageable DIY project if you have the right tools, materials, and knowledge. By following the steps outlined above, you can successfully install or replace your downspouts and help protect your home from water damage for years to come. However, if you encounter difficulties or have doubts about the project, don’t hesitate to seek professional assistance to ensure the job is done right.


