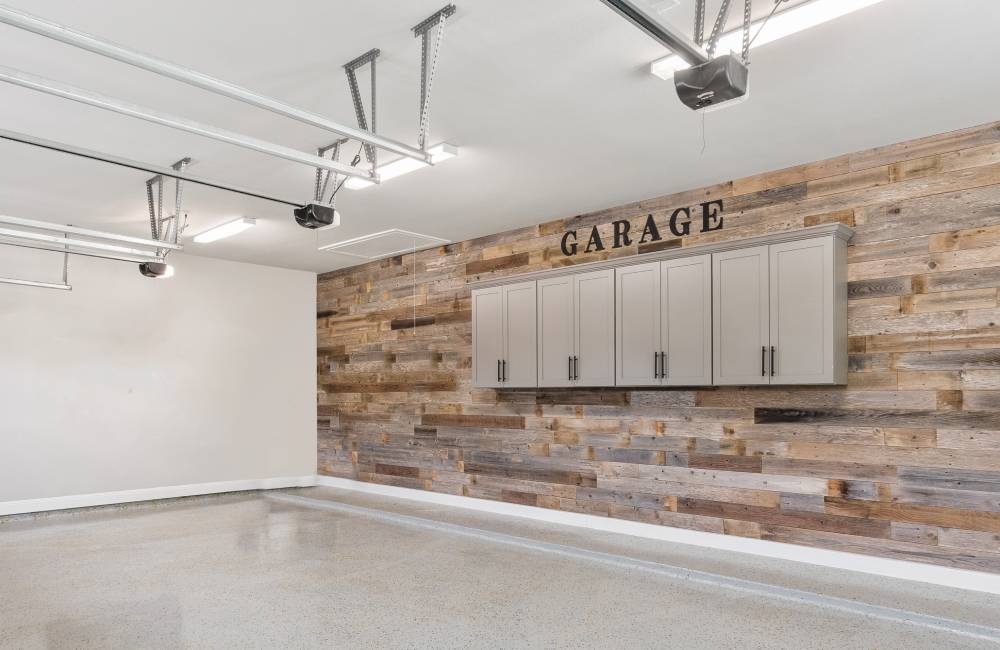
A cluttered garage is a common headache for many homeowners. Tools scattered around, sports equipment piled up, and seasonal items occupying valuable space can turn this functional area into a chaotic mess. Transforming a cluttered garage into an organized oasis is achievable with the installation of garage cabinets. Fortunately, installing garage cabinets offers a practical solution to regain control and maximize storage efficiency. In this complete guide, we’ll explore everything you need to know about garage cabinet installation, from planning and preparation to execution and organization.
- Planning Your Garage Cabinet Installation
Careful planning is required before plunging into the installation process. Here are the key steps to consider:
Assess Your Storage Needs:
Start by evaluating the items you plan to store in your garage. Take inventory of tools, equipment, seasonal decorations, and any other belongings that need organizing. This will help determine the size and type of cabinets required.
Measure Your Space:
For a perfect fit, precise measurements are key. Take careful measurements of your garage using a tape measure, making sure to account for the width, height, and placement of any impediments like doors and windows.
Set A Budget:
Determine how much you’re willing to invest in your garage cabinets. Consider factors like material quality, customization options, and additional features such as lighting or locks.
Choose The Right Cabinets:
Various types of garage cabinets are available, including wall-mounted, freestanding, and modular units. Select cabinets that align with your storage needs, available space, and aesthetic preferences.
- Preparing For Installation
Once you’ve finalized your plans, it’s time to prepare your garage for the installation process. For a trouble-free launch, follow these steps:
Clear Out Clutter:
Before installing cabinets, DE clutter your garage by removing unnecessary items and organizing what remains. This will create a clean slate for installation and prevent obstacles during the process.
Clean The Space:
Thoroughly clean your garage to remove dust, dirt, and debris. Wipe down walls and floors to create a clean environment for cabinet installation.
Gather Tools And Materials:
Make sure you have all the necessary tools and materials on hand, including a drill, level, screws, anchors, and any additional hardware specified by the cabinet manufacturer.
Protect Floors And Walls:
To prevent damage during installation, consider using protective coverings on floors and walls. These can include cardboard, drop cloths, or plastic sheeting.
- Installing Your Garage Cabinets
With proper planning and preparation complete, it’s time to begin the installation process. To achieve your desired result, please follow these detailed instructions:
Start With Wall Mounting:
If you’re installing wall-mounted cabinets, locate and mark the studs on your garage walls. Use a stud finder to identify stud positions, then mark them with a pencil.
Position Cabinets:
Carefully position the cabinets according to your layout plan, ensuring proper alignment and spacing between units. Use a level to ensure cabinets are plumb and adjust as needed.
Secure Cabinets:
Put screws or bolts into the wall studs to fasten the cabinets after you’ve positioned them properly. Make sure to drive fasteners into the studs for maximum stability and weight support.
Level And Adjust:
Check the level of each cabinet as you go and make any necessary adjustments to ensure they are all aligned horizontally and vertically.
Connect Modular Units:
If you’re installing modular cabinets, follow the manufacturer’s instructions for connecting individual units to create a cohesive storage system. This may involve using specialized hardware or connectors.
Add Finishing Touches:
Once cabinets are securely installed, add any finishing touches, such as trim, melding, or hardware, to enhance their appearance and functionality.
- Organizing Your Garage Cabinets
With your garage cabinets successfully installed, it’s time to put them to use by organizing your belongings. Follow these tips for efficient storage:
Group Similar Items:
Organize your belongings into categories such as tools, gardening supplies, sports equipment, and seasonal decorations. Grouping similar items makes it easier to locate and access what you need.
Utilize Vertical Space:
Maximize storage capacity by using shelves, hooks, and hanging organizers to maximize vertical space. This can help free up floor space and keep items off the ground.
Label And Containerize:
Label shelves and storage bins to quickly identify each cabinet’s contents. Use clear containers or bins for smaller items to keep them visible and easily accessible.
Maintain Order:
Regularly review and maintain your garage organization system to prevent clutter from accumulating. Reorganize as needed and purge items that are no longer useful or needed.
Conclusion
Installing garage cabinets is a practical and effective way to regain control of your space and maximize storage efficiency. You can make your garage work better for you and your storage needs by organizing it first, gathering all of the necessary materials, and then installing it. In order to install cabinets successfully and reap the benefits of a garage free of clutter for many years, follow the steps indicated in this comprehensive tutorial.


